Cultivating Oyster Mushrooms Outdoors

1. Caring for Your Spawn Block(s)
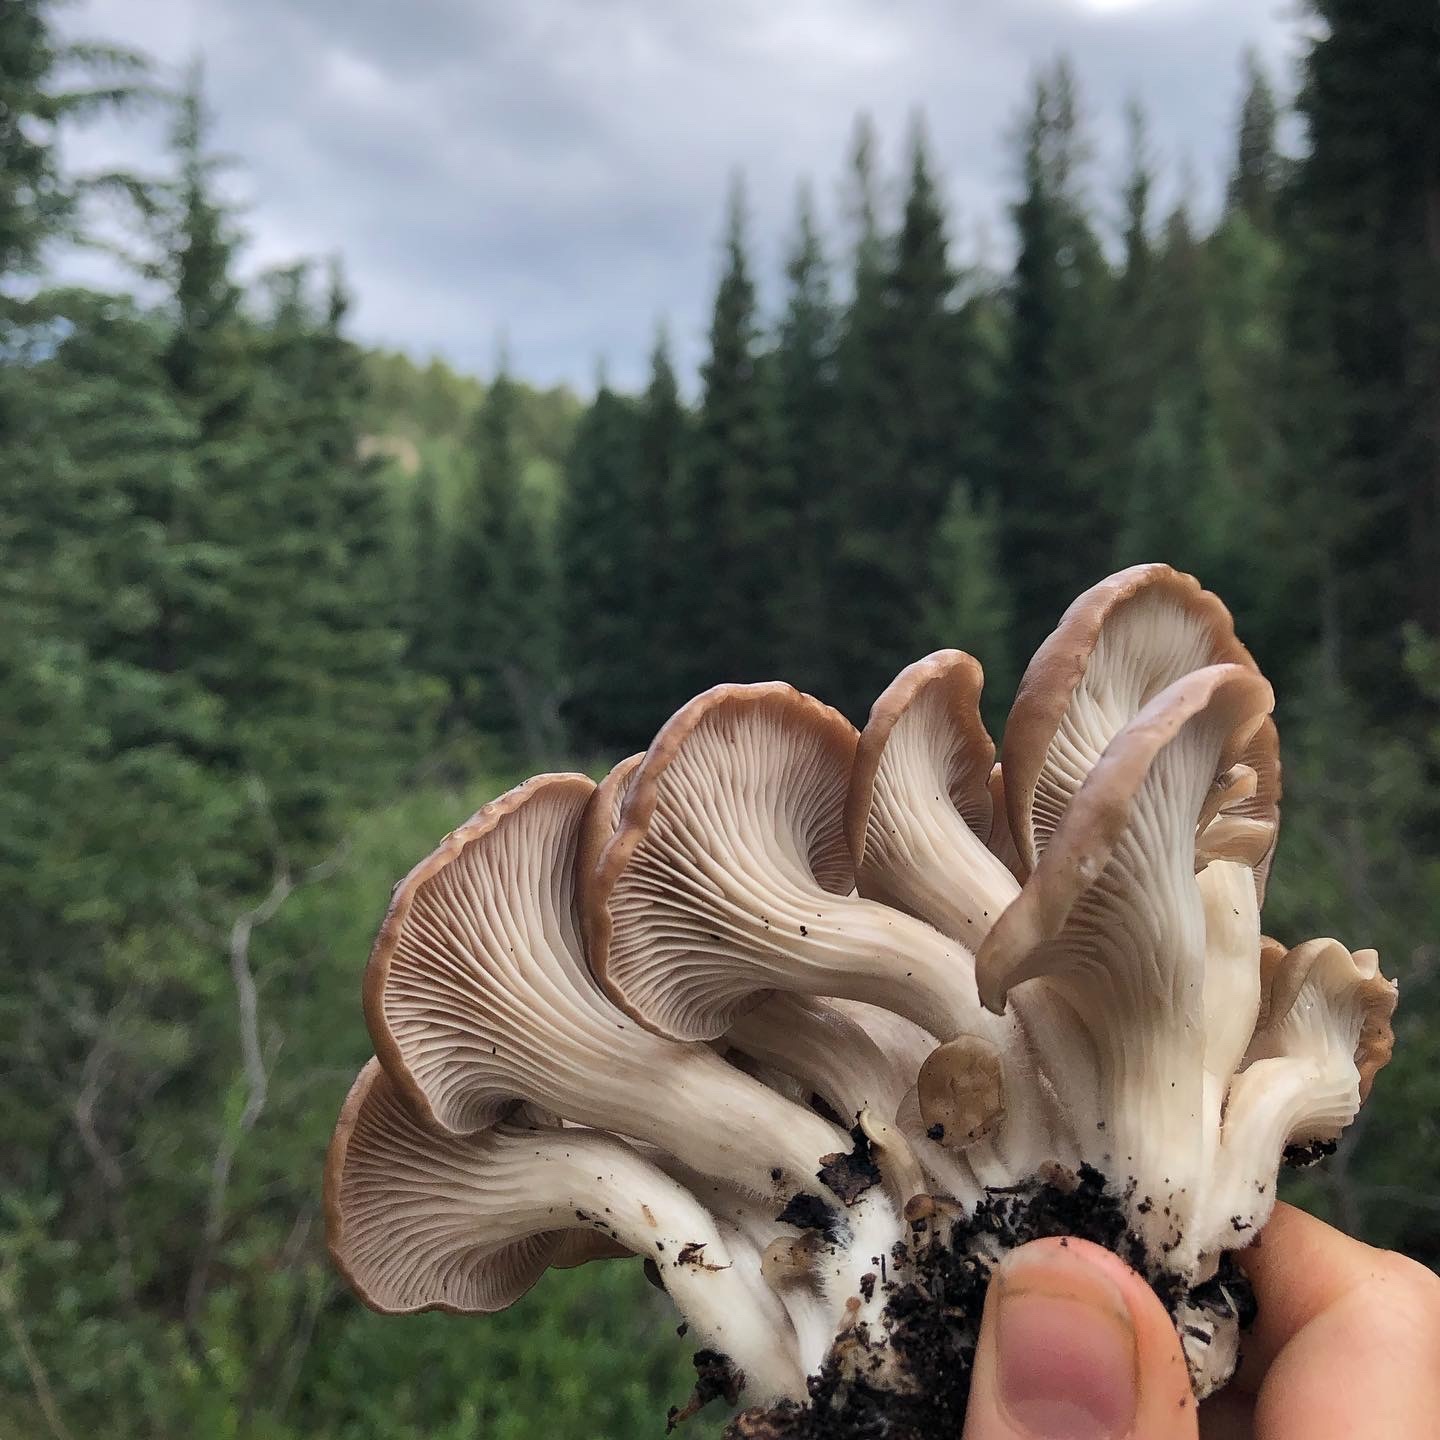
Congratulations on your new oyster spawn! We hope you are looking forward to collaborating with the mycelium of Pleurotus ostreatus. We found and cultured this strain from a wild specimen collected locally in the summer of 2021. It is adapted to our climate and we are so excited to see how it fruits.
If you are not ready to use your spawn block right away, it needs to be kept in a cool location (50-60F) out of direct sunlight. Under these conditions, the mycelium will go dormant and will not fruit until you expand it to a new substrate (food source).
If you are working with spent (used) spawn blocks, use them while they are still relatively soft (and "fresh" or recently acquired), if possible. Otherwise, you can soak dried-out blocks for 1-2 hours to rehydrate them before using them.
2. Building an Outdoor Bed
a. Choosing a Location
Before getting started, it's a good idea to assess where in your yard you would like to install your mushroom beds. Although oyster mycelium can tolerate direct sunlight and summer heat, your mushrooms will retain more moisture and freshness if you provide them with some amount of shade. Consider the north side of your house, if accessible.
You may also want to evaluate where the natural flow of water runoff is; mushroom beds are super happy at the bottom of a slope, or near a downspout. Regardless, it will need to be watered, so make sure your hose, drip irrigation, or rain barrel supply can reach it.
b. Gathering Substrate Materials
The bare minimum in this category includes plain cardboard, fresh hardwood chips, and spawn. You may also use untreated dead leaves, freshly brewed coffee grounds, and straw.
c. Determining Bed Size
Decide how large you would like your beds to be. One spawn block can cover a 4 x 4 square foot area. The more space you cover, the more mushrooms you will get.
You can also integrate your spawn into an existing garden bed; simply combine spawn + woodchips and spread it amongst your veggies. The fruiting bodies may not be as large but the symbiosis between your plants and the mycelium will be more than worthwhile.

d. Building the Bed(s)
Put down plain cardboard as a barrier. Then layer spawn, woodchips, and other substrate materials on top of it. If available, add a thick layer of straw to the finished bed to lock in moisture. Thoroughly water the bed immediately after installation and daily for two weeks. After that, weekly watering is sufficient.
You may want to cover your bed with a tarp, burlap or cardboard to protect it from wind, drying out, and critters. Be sure to remove the covering for a few hours every few days so the mycelium can breathe.
e. Introducing Worms to Make Compost (optional)
Worms absolutely love to munch on myceliated substrate. Once your beds have finished fruiting for the year (or after year 2), you might want to consider introducing red wigglers to your mushroom beds. They will consume and digest any remaining mycelium (along with whatever it's growing on) and you will be left with rich, black gold myco-vermicompost.
3. Harvesting, Storing & Cooking Your Mushrooms
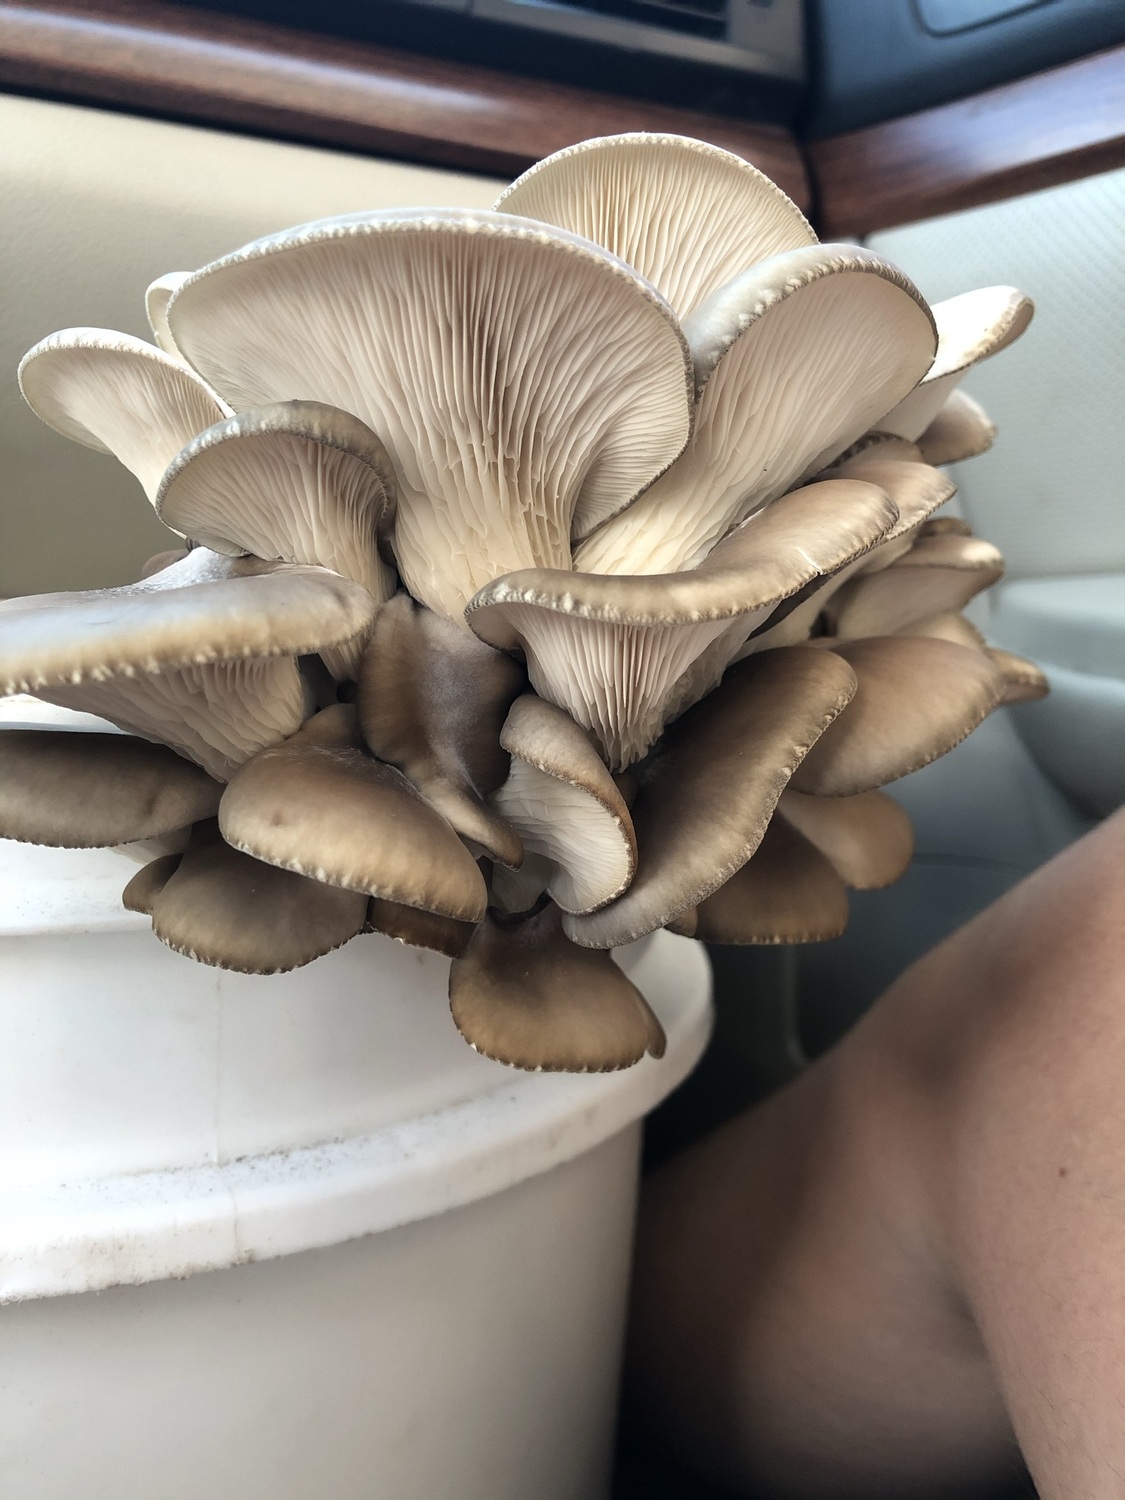
Once your mushrooms begin to fruit, they will grow to full size within 3-5 days. Be sure to harvest them while they are fresh; otherwise, they may dry out, or, if it's rainy, become infested with bugs. Harvest by reaching all the way to the base of the mushroom cluster and gently pulling up and to the side. Trim any dirty spots with a knife, and cook right away, dehydrate, or store in the fridge for up to 10 days.